
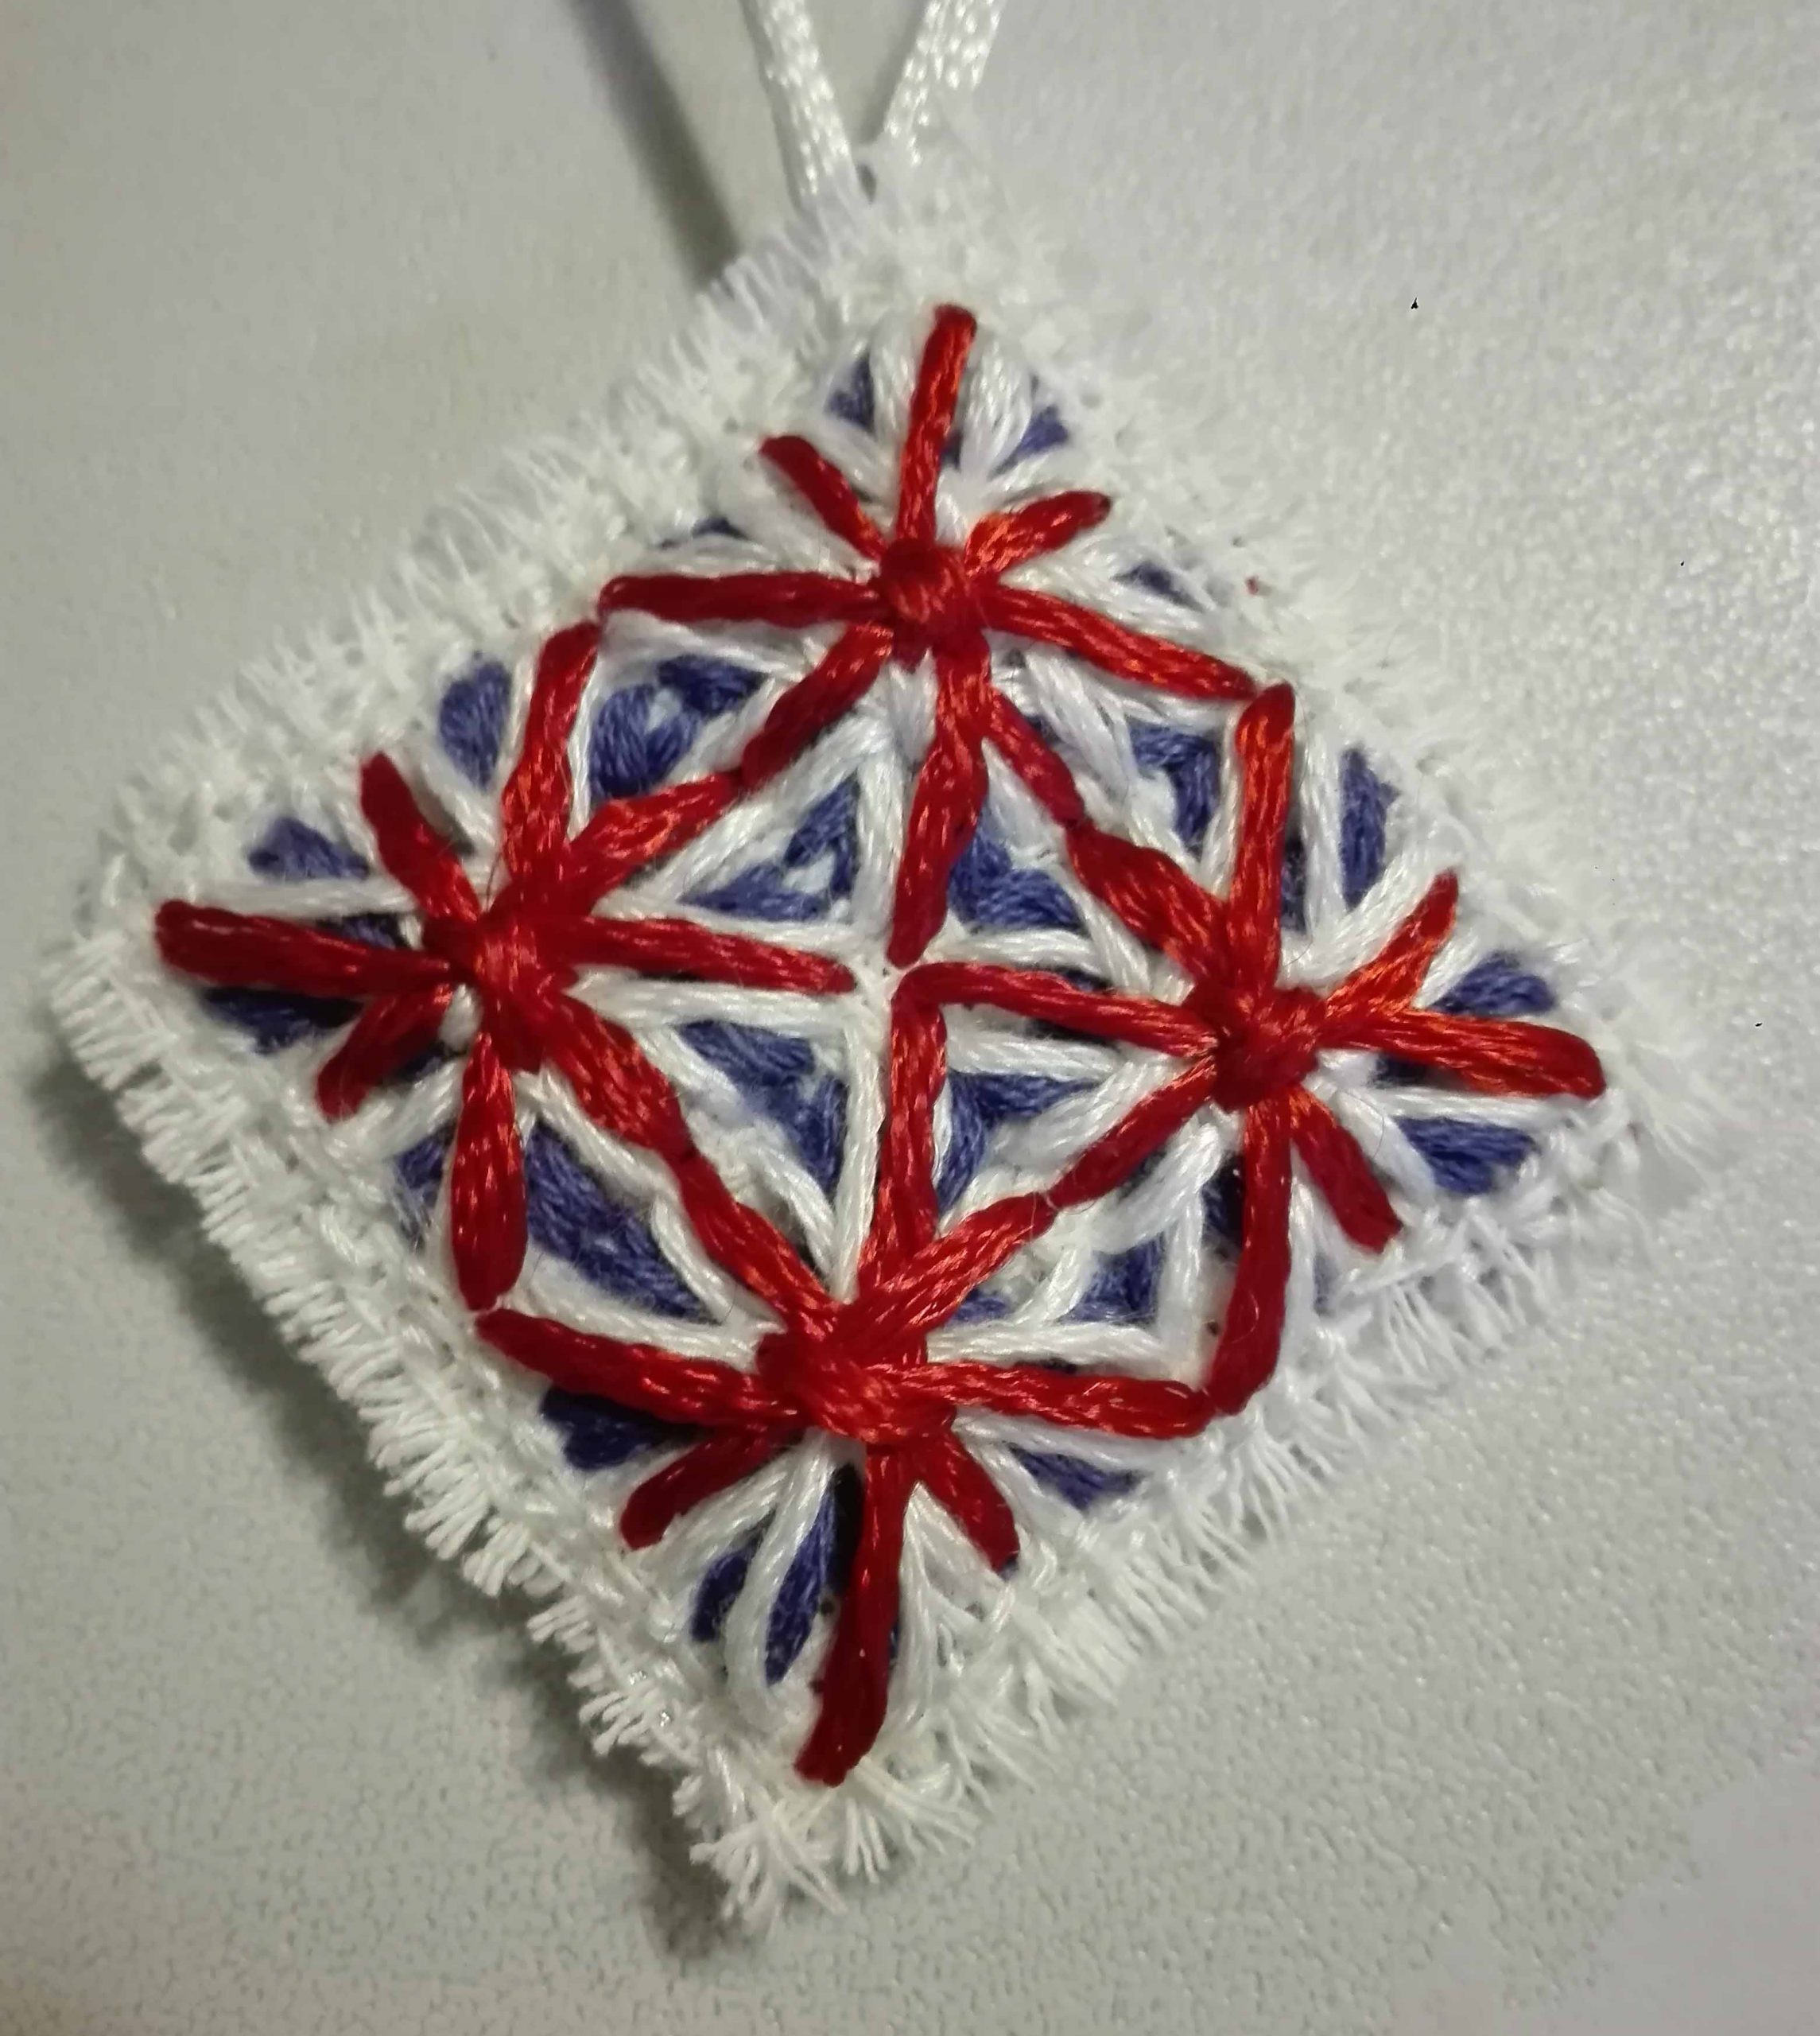


Union Jack keeper on AIDA- 15DPI is advised
1 Find the middle of the fabric & sew tacking stitches using normal sewing thread, both across the centre and around the square 21×21 holes – these will delineate the 4 quadrants of the design.
2 Complete stage 1 in all 4 quadrants before moving on to stage 2 and so on. If you want to make a traditional Union Jack use Blue thread for the Blue lines, White thread for the Grey lines & Red thread for the Red lines.
3 All sewing except for the backstitch and single stitch should be completed using all 6 strands of the embroidery thread. Always start with the needle single treaded and with a knot in the end of the thread. The knot should be placed outside of the design and visible from the front. So your first stitch will always be travelling from back to front through the indicated hole on the pattern.
4 The blue lines represent the 8 long stitches and 4 stay stitches for stage 1.The order that the stitches are complete is irrelevant except that the stay stitches must be completed after the long stitches.
5 Once stage 1 is completed move on to the pattern for stage 2 (grey lines), sewing over the top of the stage 1. Again complete all 4 quadrants before moving on.
6 Finally onto stage 3 following the red lines over the top again to complete the union jack.
7 To make the keeper repeat for the other piece of AIDA using the other threads to give a Platinum Jubilee Jack. Use Lavender for the Blue Lines, Purple for the Grey Lines and Silver for the Red Lines.
8 Once both sides are complete remove all the tacking stitches and replace the ones around the outside of the design with a line of back stitches, using 3 strands of white embroidery thread. Try to use the holes in the AIDA to make the stitches even and small. ie 1 hole=1 stitch. Travel forward 2 holes on the reverse and back 1 hole on the front. This will anchor all the starting knots and stiffen up the edges.
9 The knots can now be cut off and the threads pushed towards the inside back of the work. Place the 2 squares bad sides together & complete a line of single running stitches ( 1 hole=1stitch), through both layers, in the next line of holes out. Try to match the holes in both layers and tuck any stray loops and threads in as you go. Start in 1 corner and before closing the square tuck a loop or ribbon into the stitch line and secure with a couple of back stitches as you finish.
10 Cut the aida 2 holes out from the stitch line and fray back to give a soft edge.