
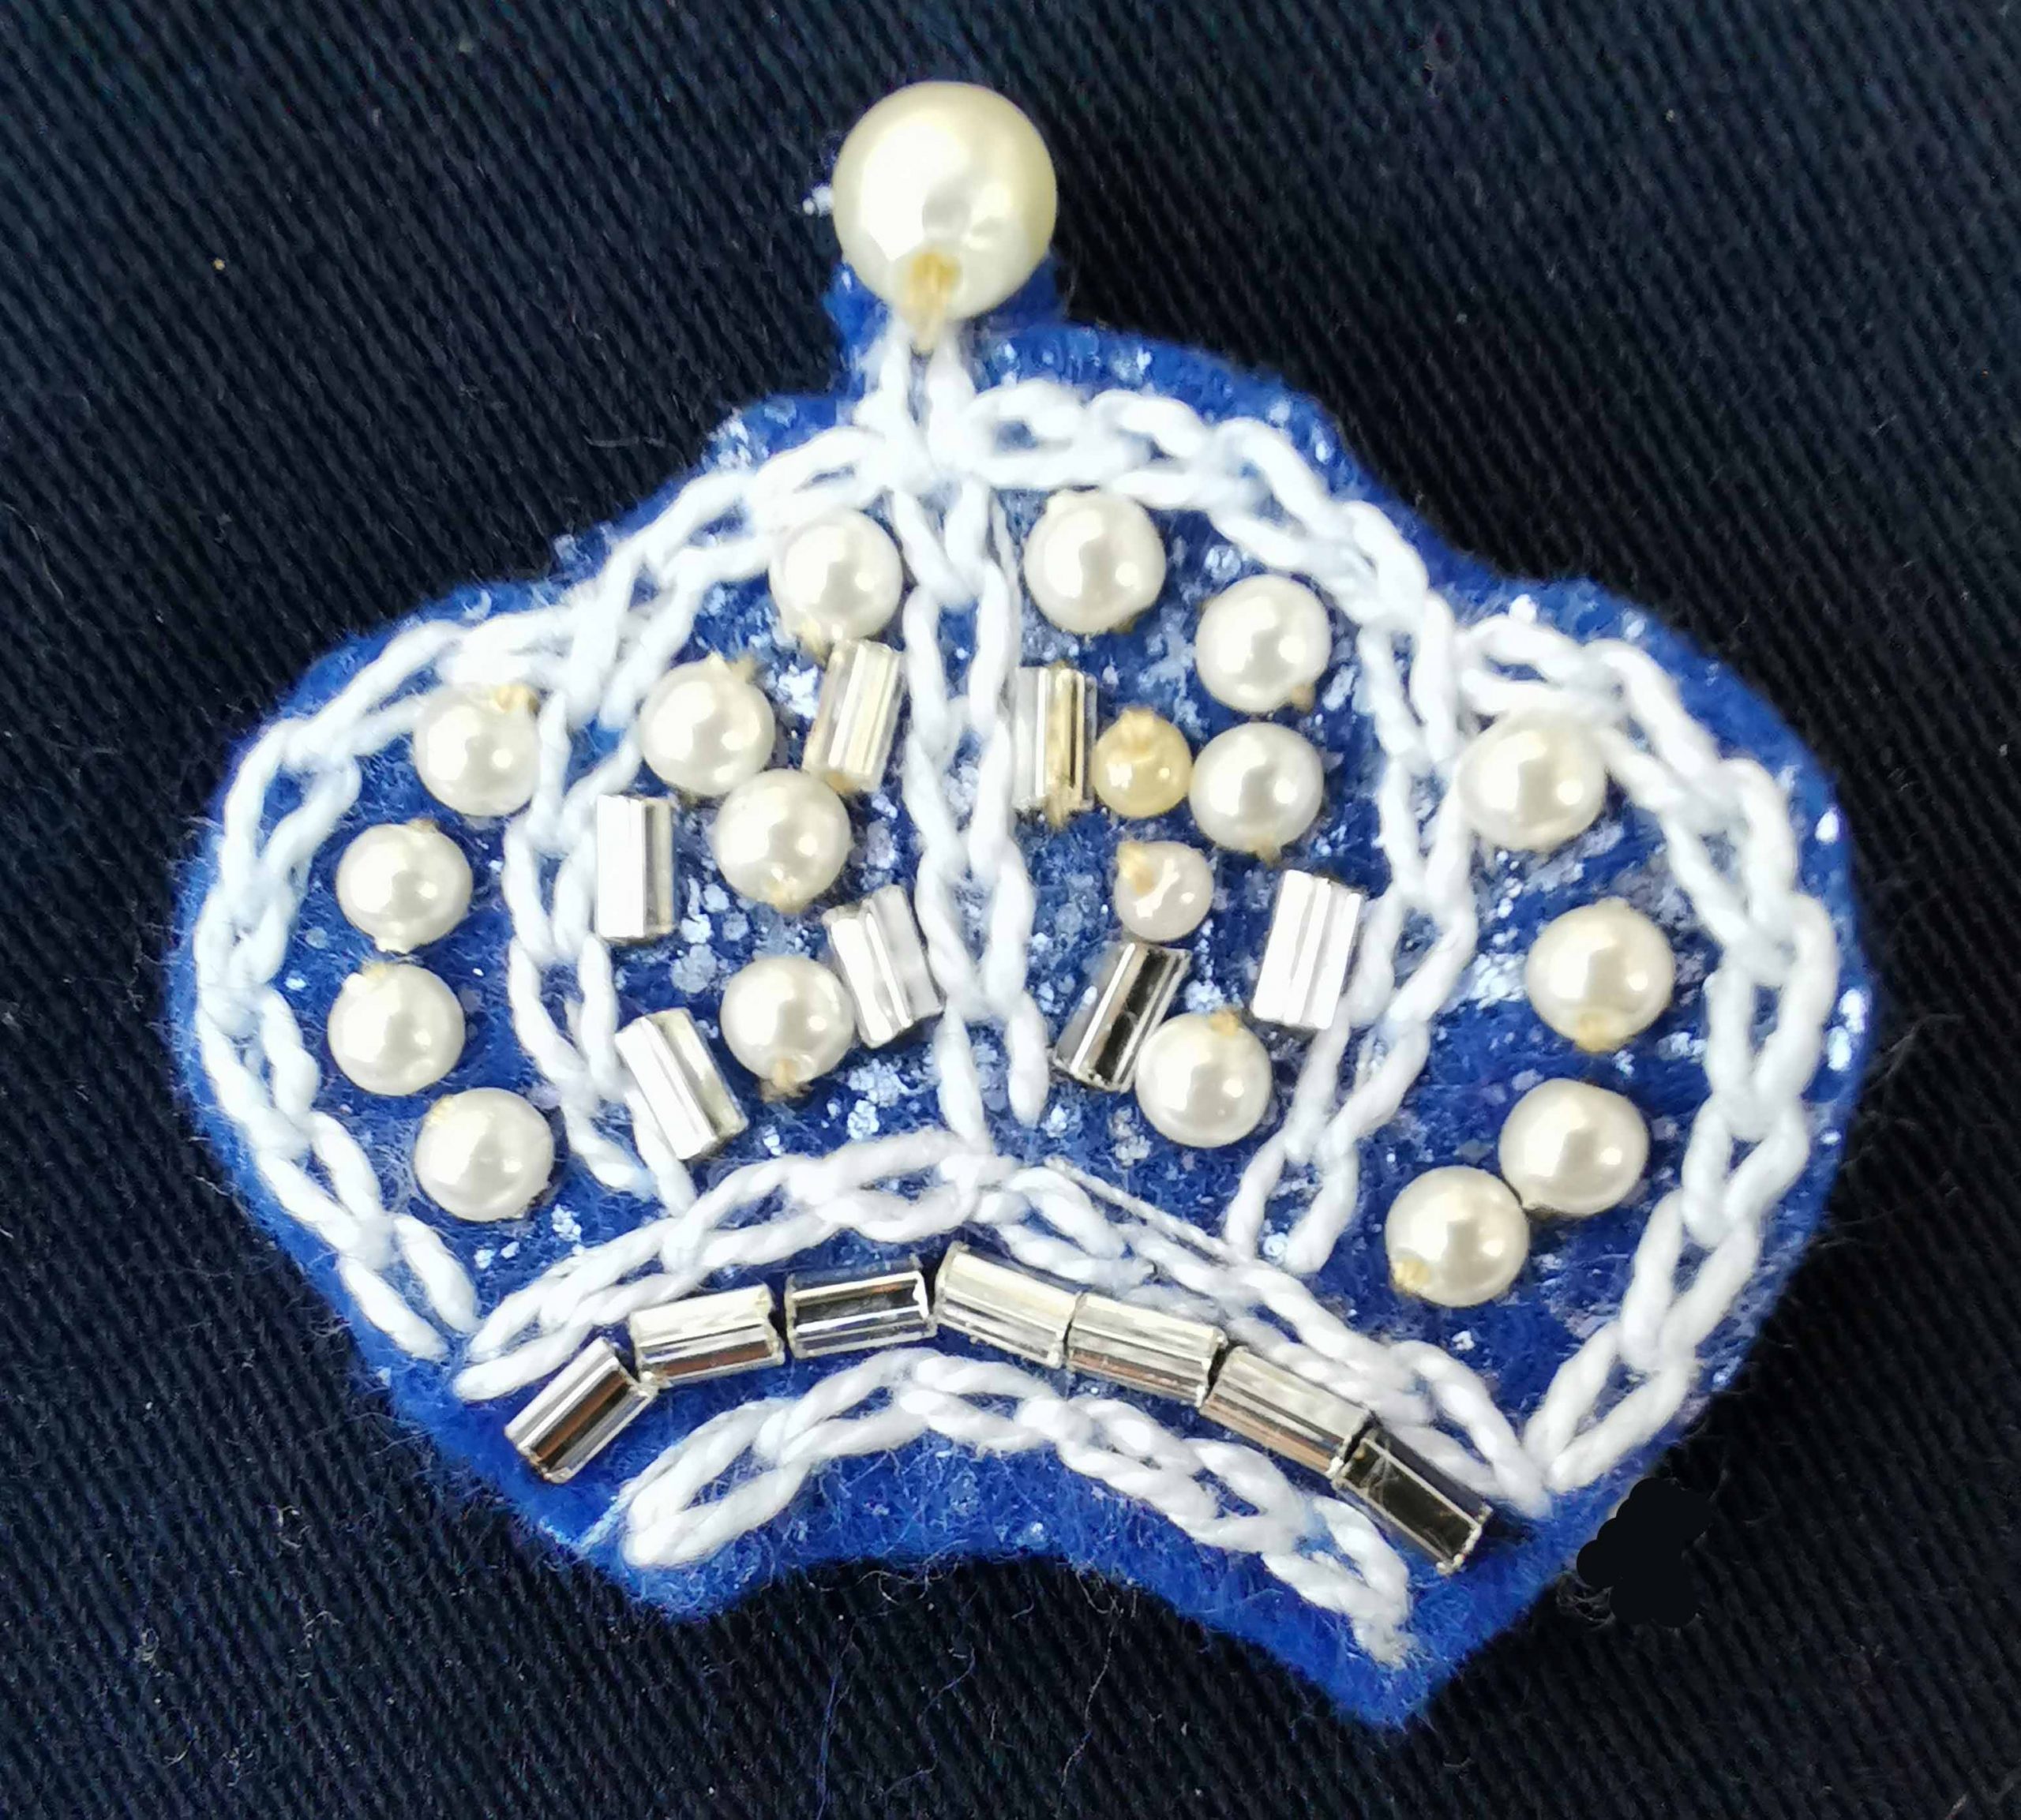
Instructions for Jubilee Crown Brooch
In your pack –
Purple felt – pre marked with crown shape in black pen.
There is enough felt to give you a backing for your brooch.
Length of single strand embroidery thread – white.
Length of purple sewing thread
A selection of bugle and pearl beads. Various colours
Charm
Brooch pin
To start –
- Thread your needle with a length of the single strand white thread.
- At this point do NOT cut out the “crown” shape.
- You will now transfer the design from the back to the front using stitch. Make small stab stitches around the shape of the crown. Looking at the photo and drawing, mark the areas where the crown frame meets the ermine…
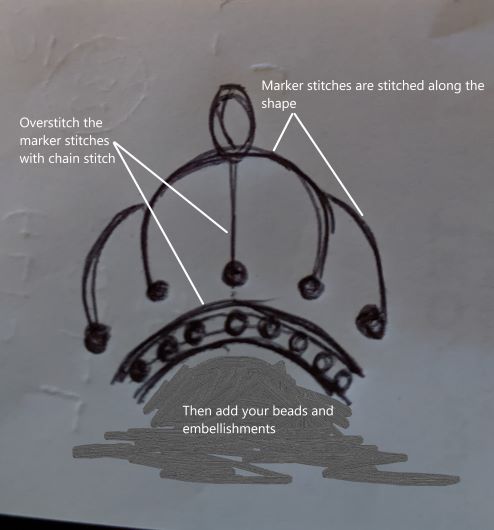
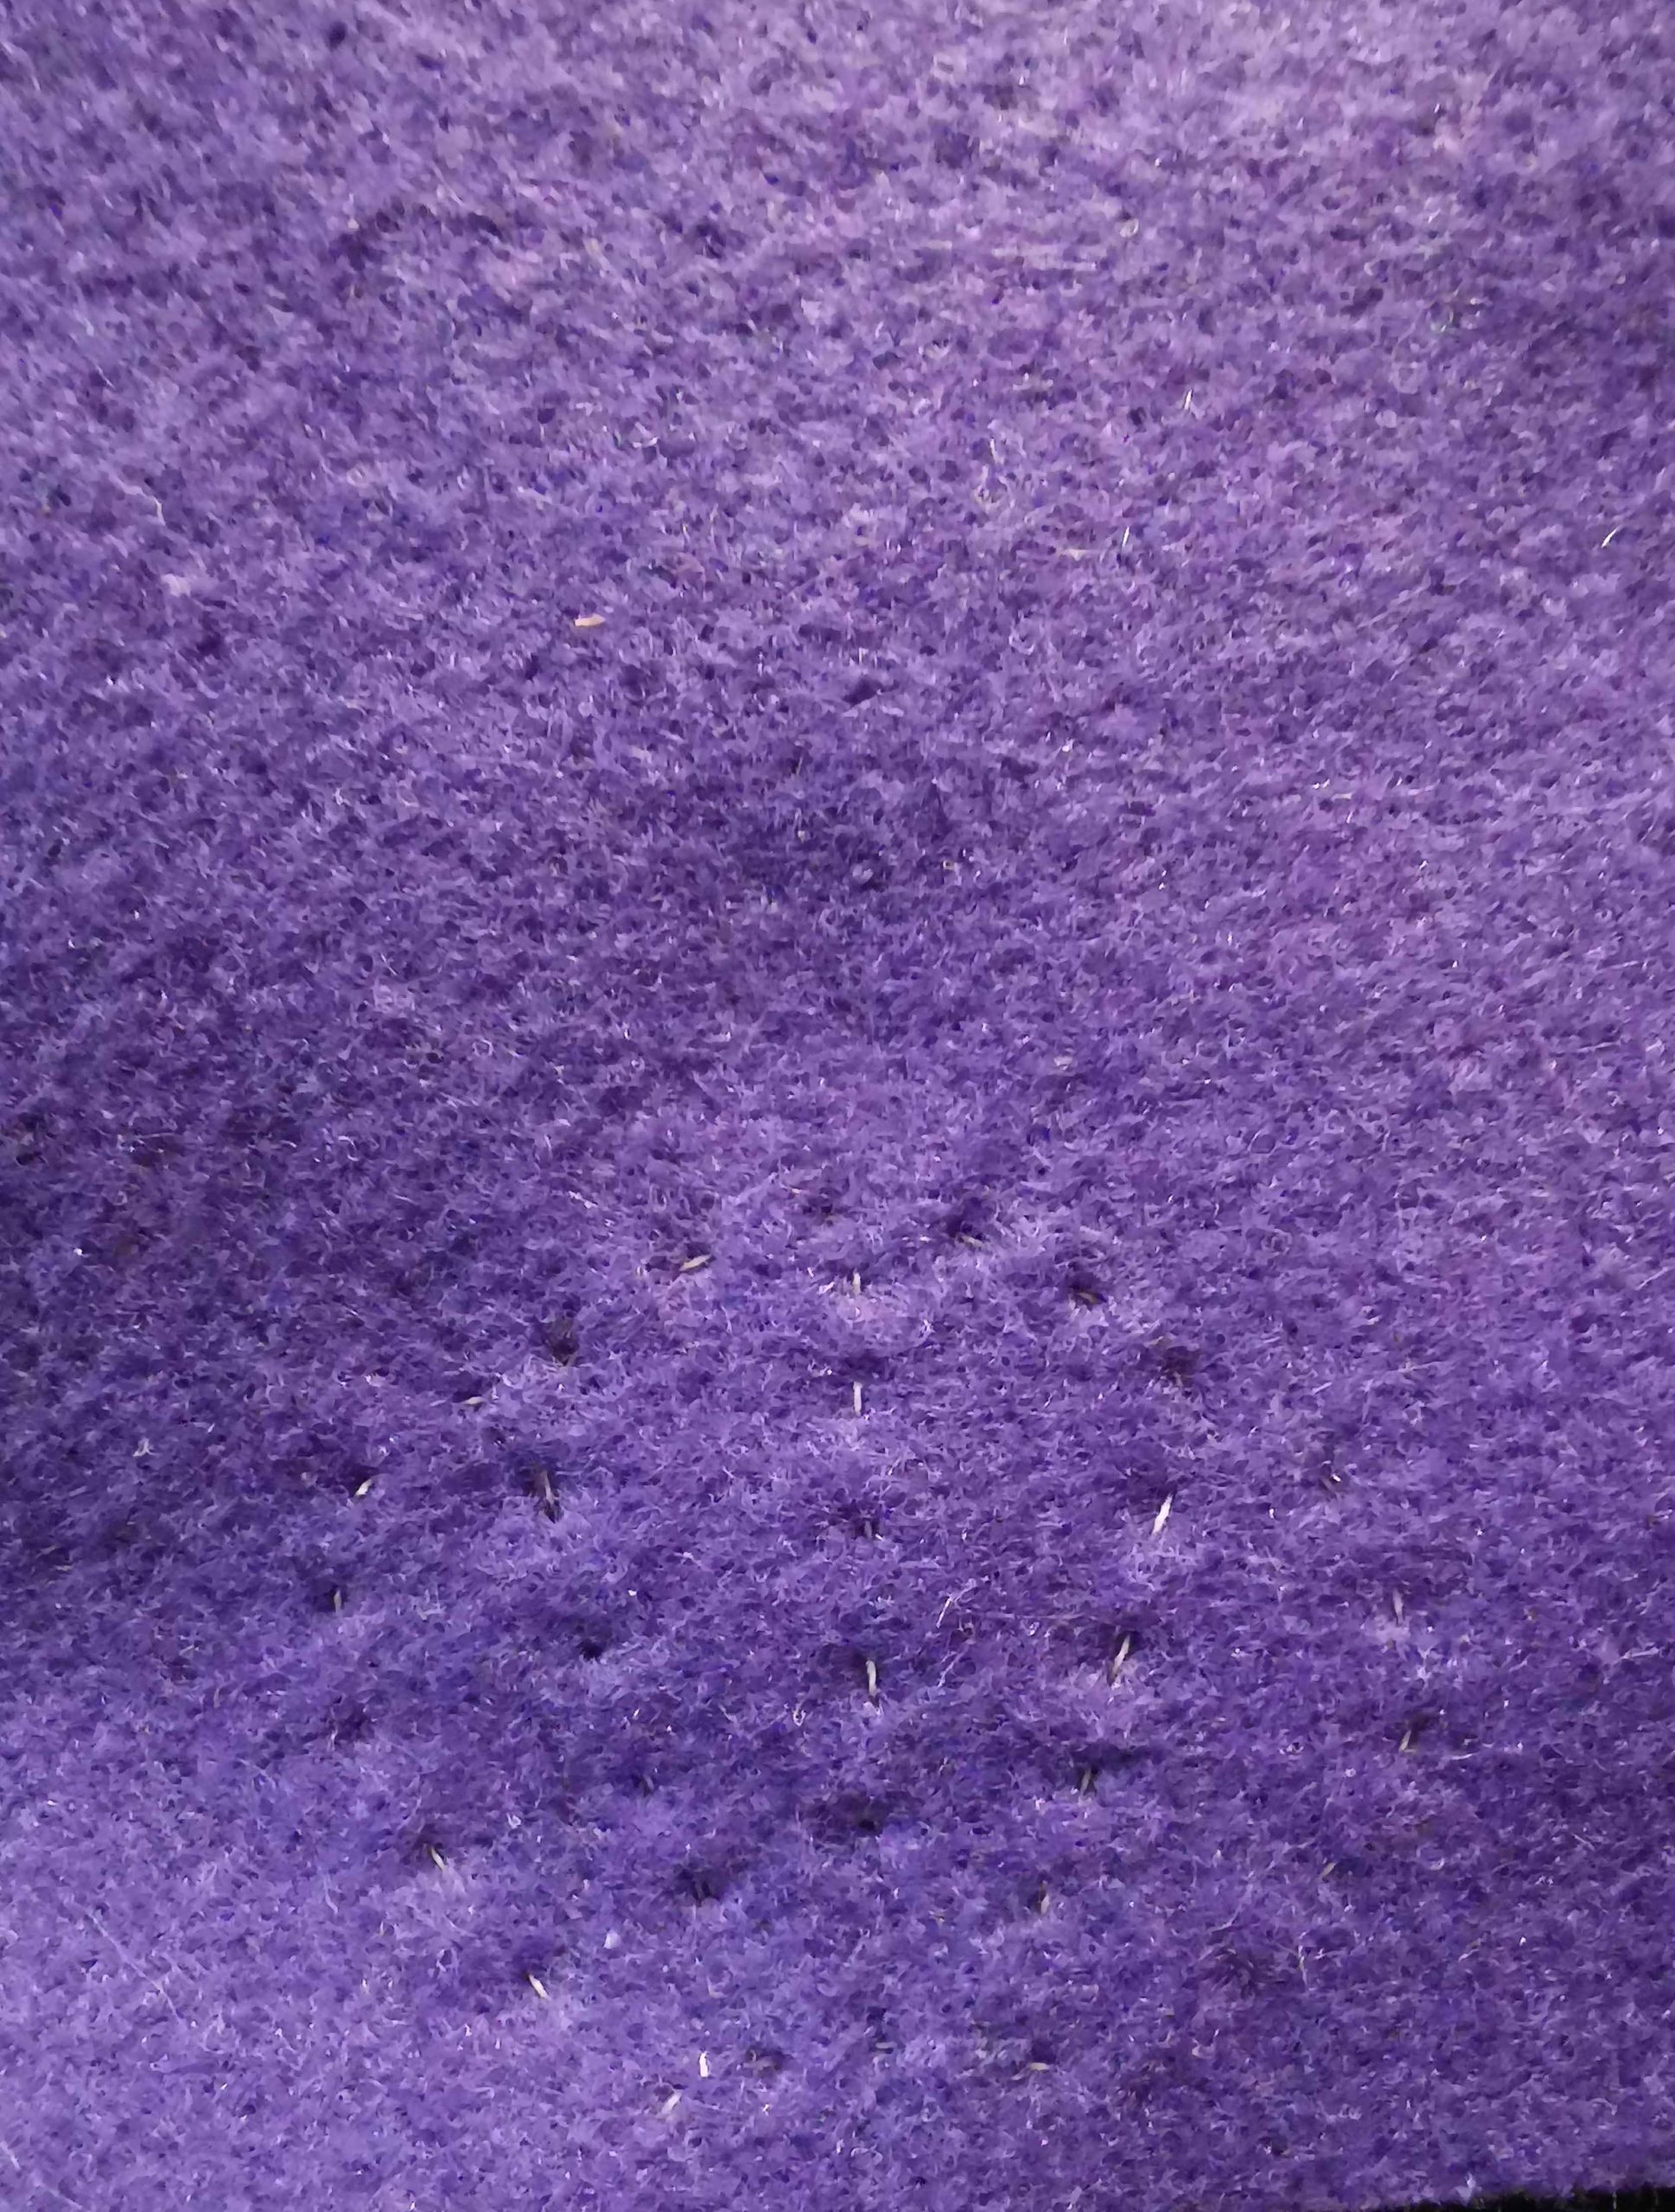
- Re-thread your needle with 2 strands of white embroidery thread. Chain stitch over your “marker” stitches on the front side of the felt.

- Re-thread your needle with a length of sewing thread.
- Take the bugle and pearl beads and sew these either randomly or in patterns between your chain stitches.
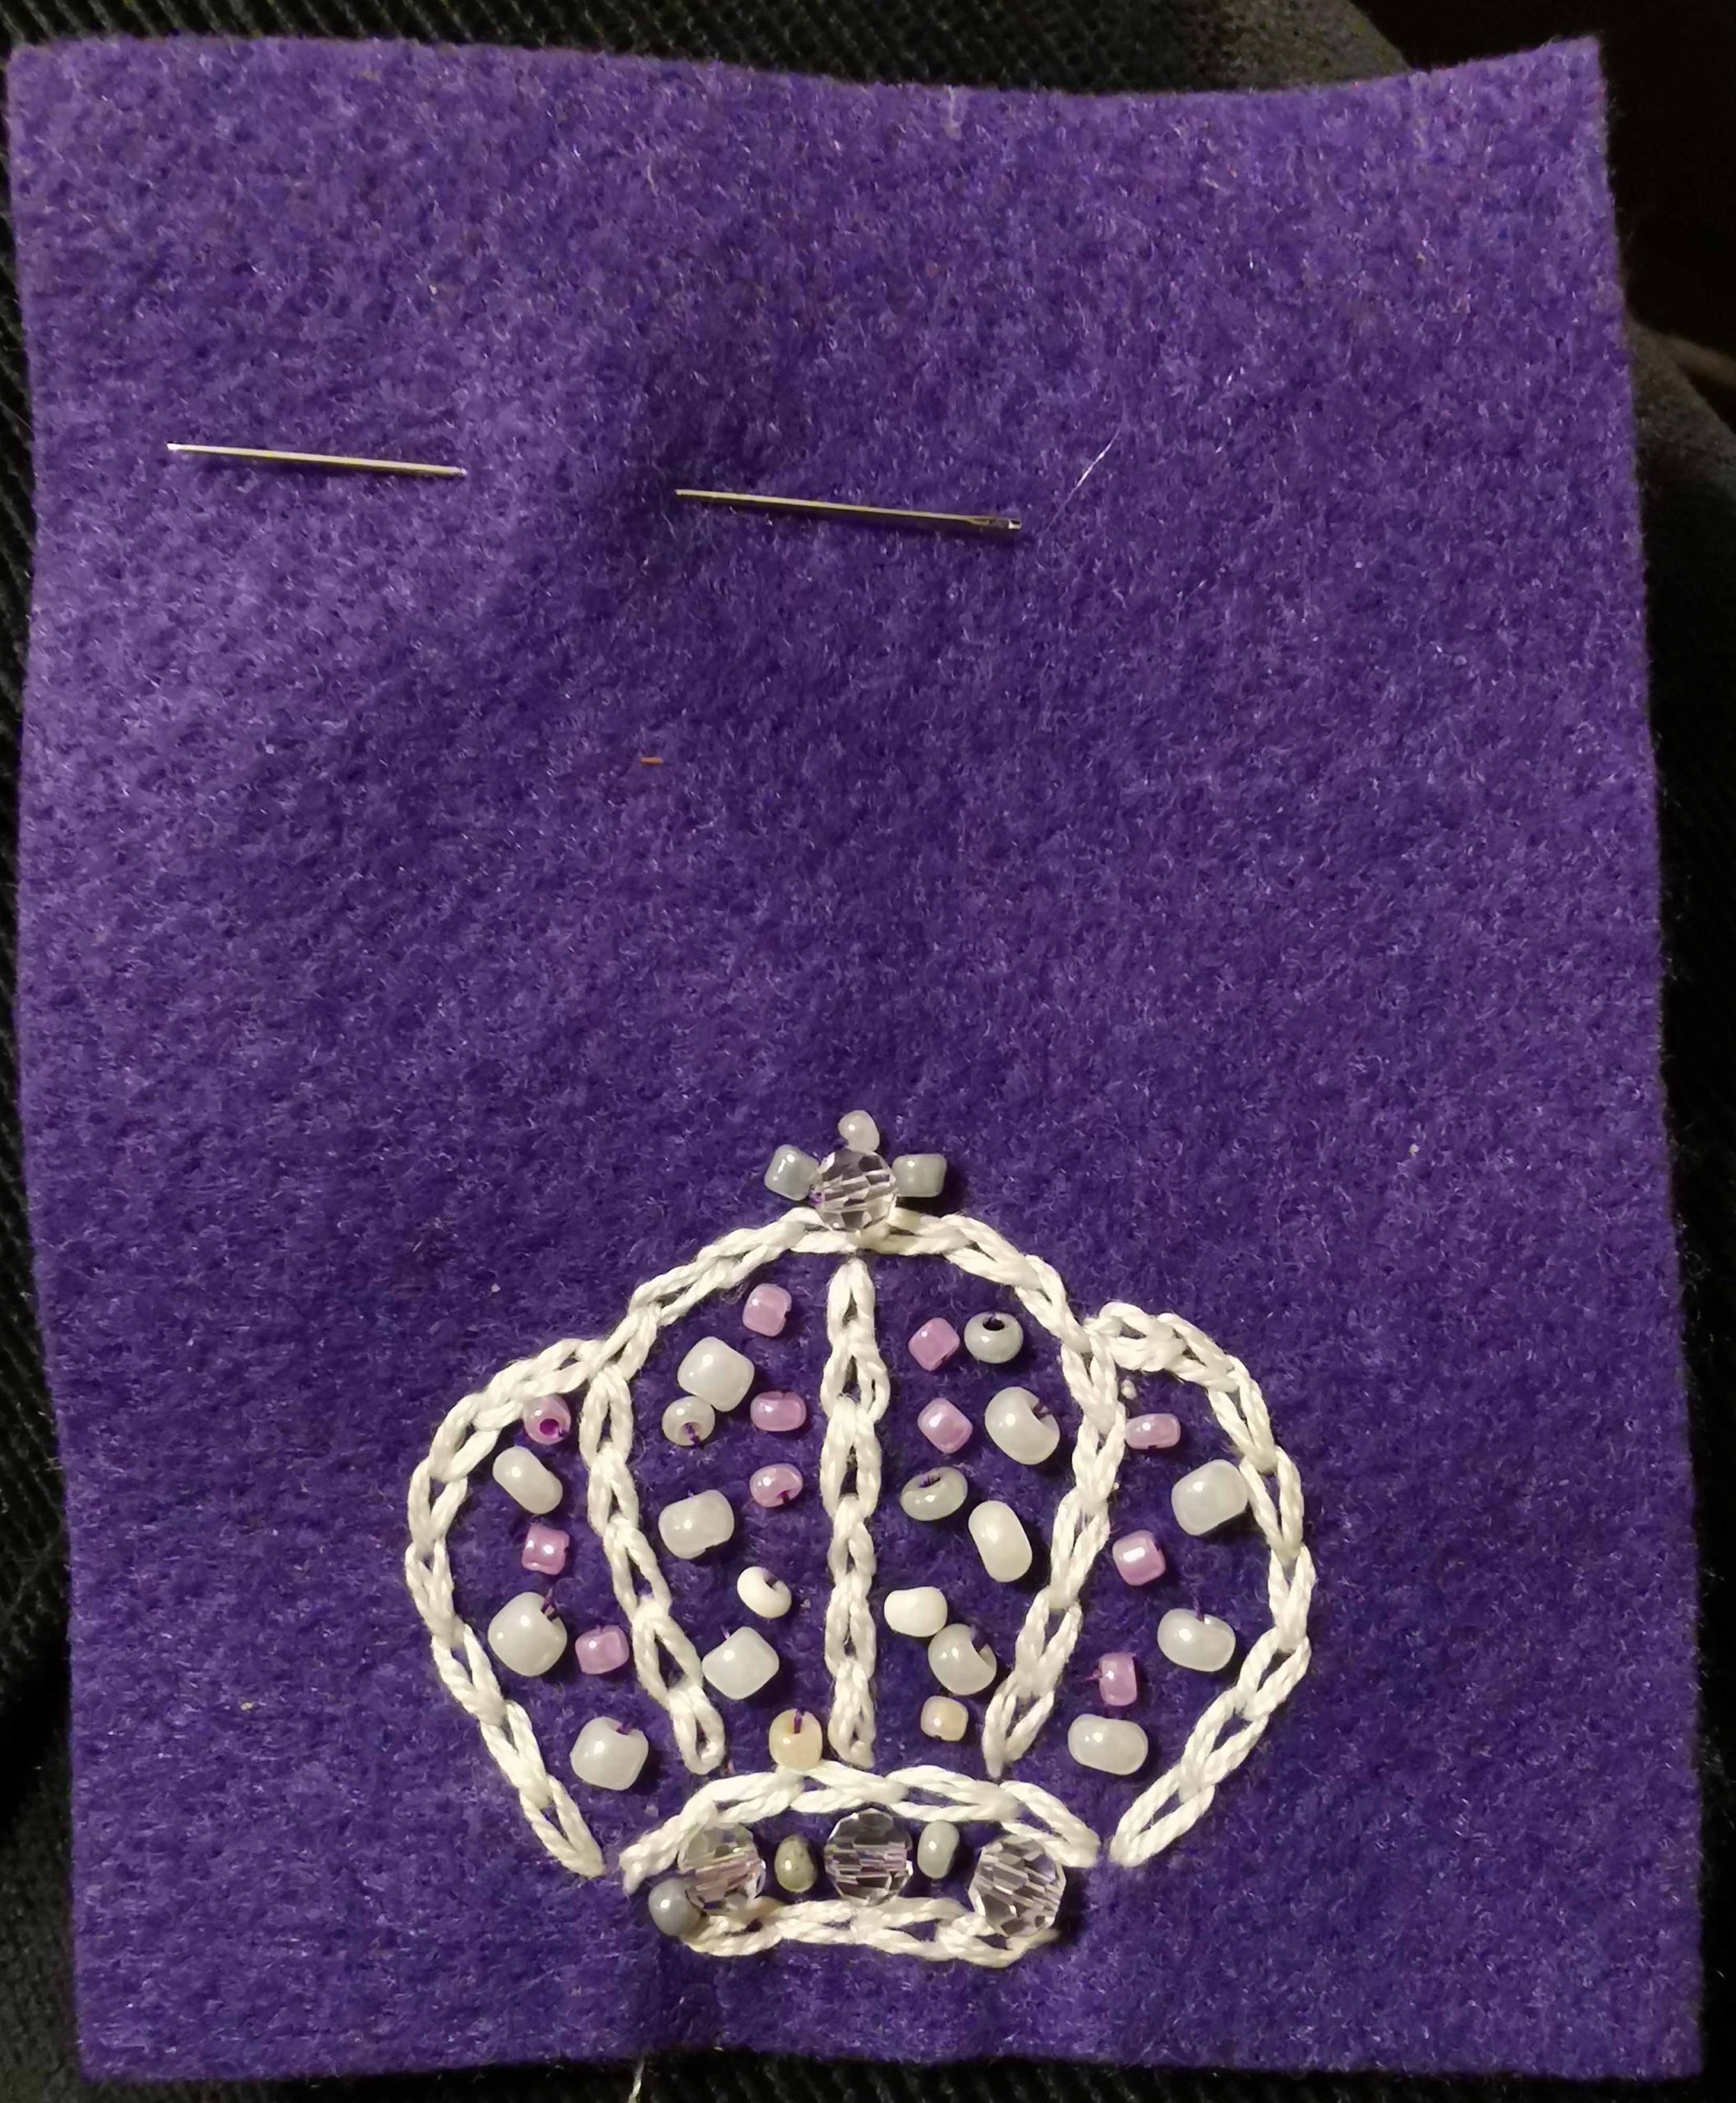
- Finish off the crown with a slightly larger pearl bead or the charm for the “crowning glory”.
- Cut out your “crown” carefully with small sharp stitches, taking care not to snip any stitches.
- Use your cut out crown as a template to cut out the backing from the remainder of the felt.
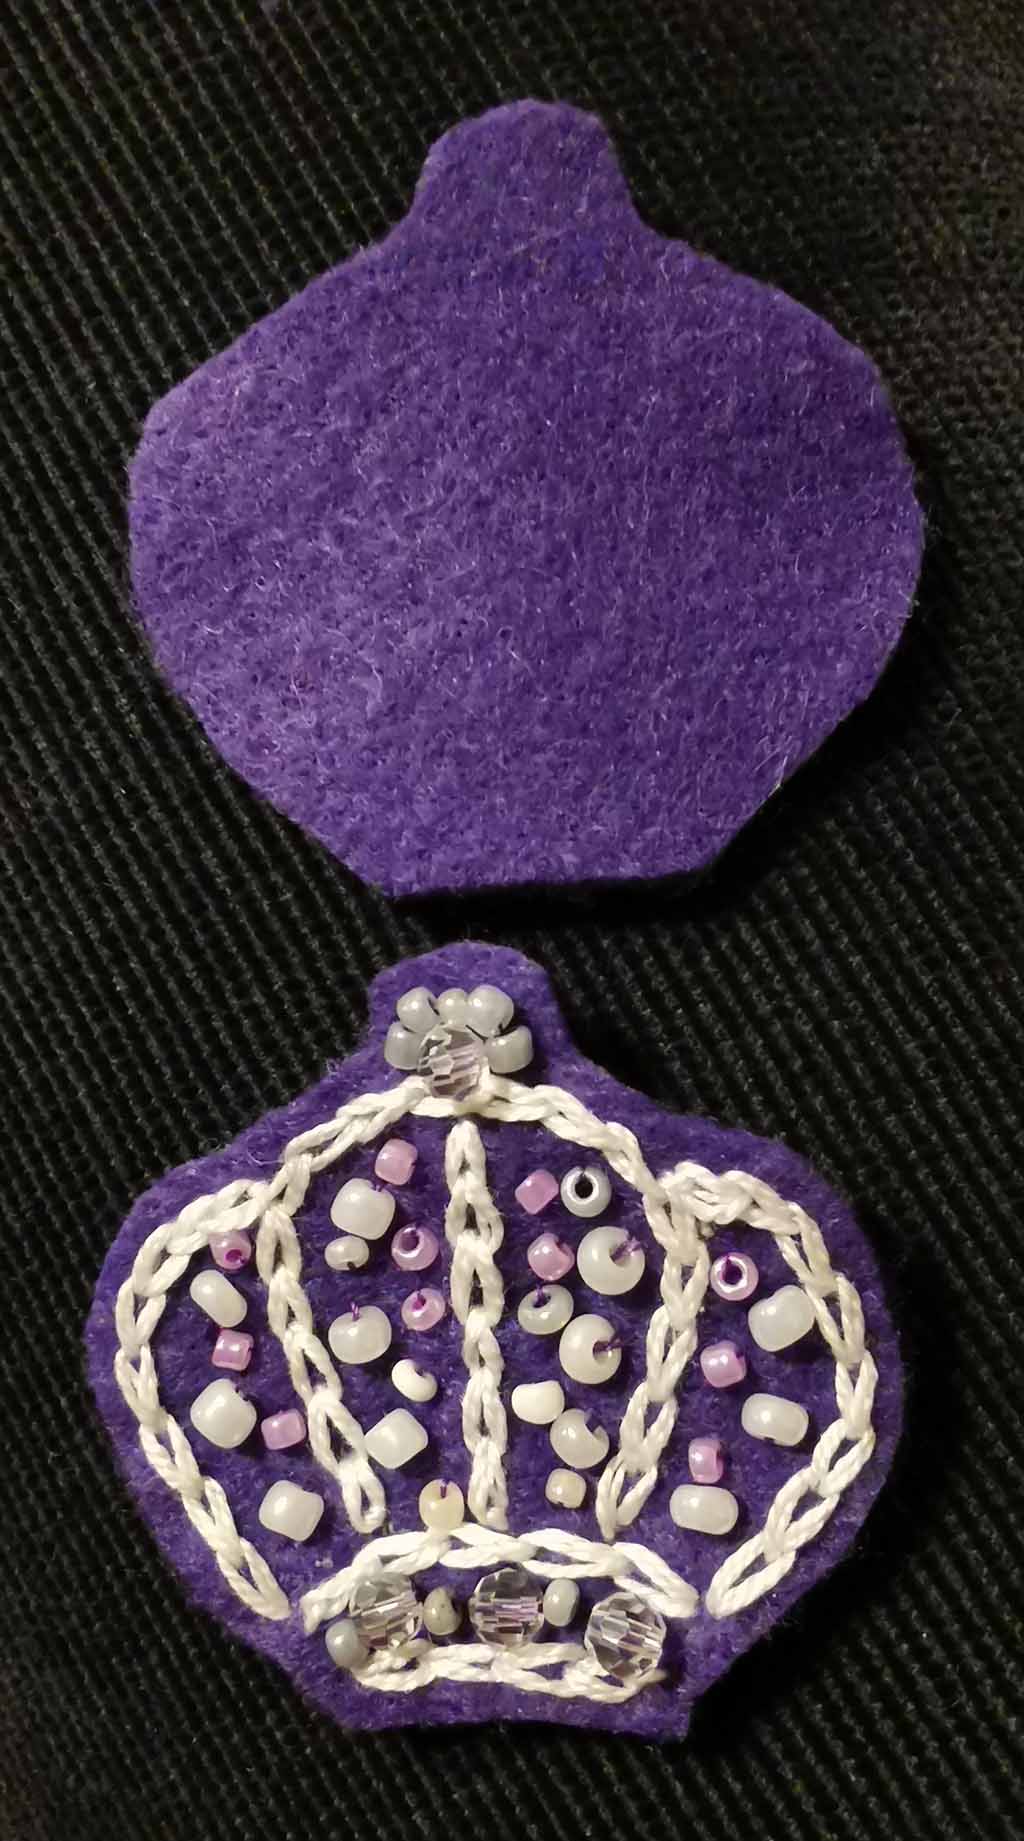
- Sew on the brooch pin to your backing felt. Try to position your brooch pin to the top of the crown. This will help to make the brooch sit flat on your lapel.
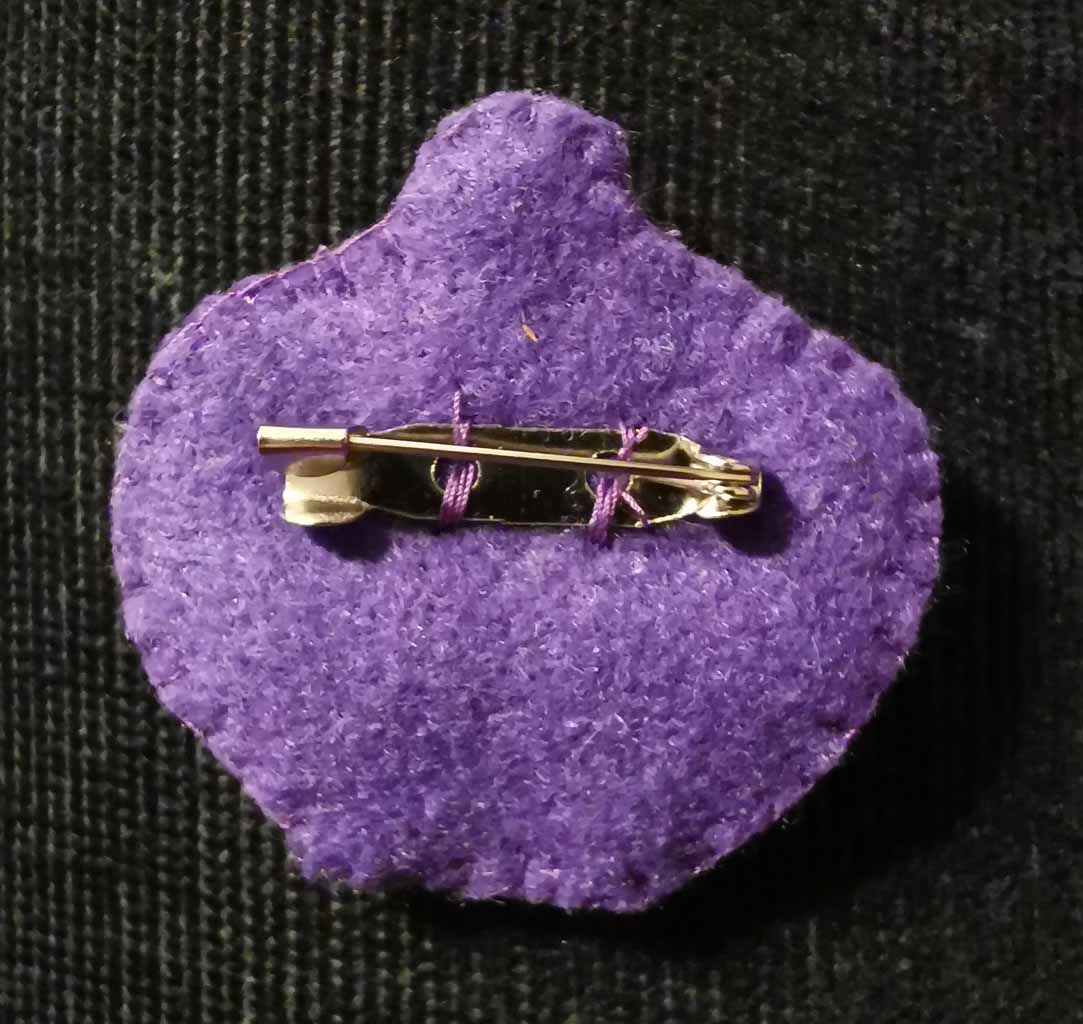
- Take the two pieces, embellished front and brooch pin back, and match them together.
- Using the single purple thread make small overcast stitches or blanket stiches all the way around your “crown”, pulling the two pieces neatly together.
And there you are finished! Pin on and enjoy!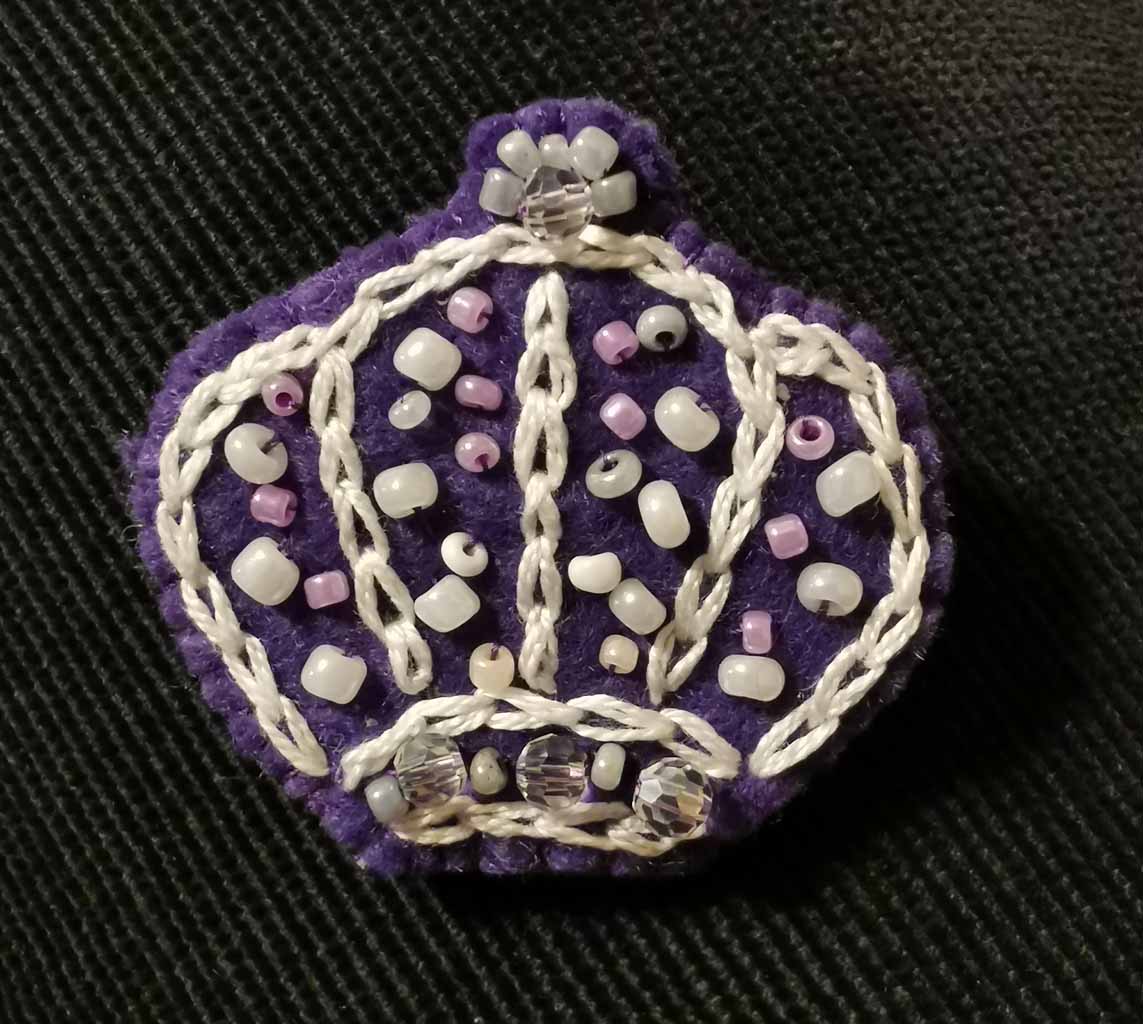
Please take a photo in our “frame” and share on Social Media and on Facebook!!